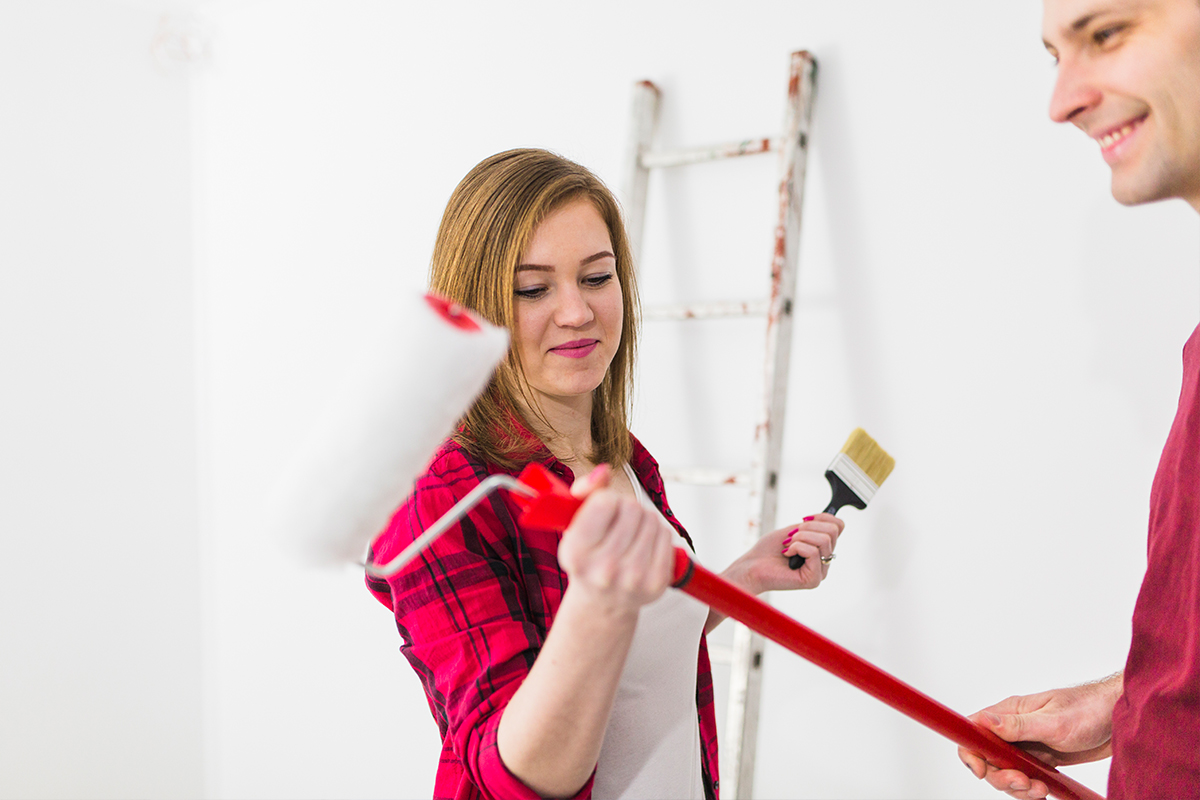
Many homes are afraid to start repairs on their own, believing that this requires specialised knowledge and skills. However, with the right preparation and step-by-step instructions, even complex tasks become feasible. Let’s consider the main stages of repair.
Preparation for repairing a house or flat
Any repair begins with preparation. Before you start work, it is necessary to assess the scale of the project, calculate the budget and prepare tools and materials.
Assess the condition of the room
Pay attention to the condition of the walls, floor and ceiling. Are there cracks, traces of moisture or mould? These problems need to be fixed before you start decorating. If mould is found in the room, it is necessary to treat the affected areas with antiseptic.
It is also important to assess the condition of communications: electrical wiring, plumbing and ventilation. If necessary, it is better to do all the work at the initial stage of repair, so as not to dismantle the finished surfaces.
Planning and selection of materials
After the assessment, it is necessary to draw up a plan of action and determine what materials will be needed for the repair. It is important to choose materials that fit your budget and quality requirements. When choosing materials, you should consider their durability, environmental friendliness and resistance to wear and tear. For example, for children’s rooms it is recommended to choose paints and finishing materials with low content of harmful substances, and for the bathroom – moisture-resistant coatings.
Preparing the tools
Before you begin a repair, prepare all the tools you will need. For most types of repairs you will need:
- Trowels for applying putty or glue.
- Brushes and rollers for painting.
- A laser level for levelling surfaces.
- Hammer, screwdrivers and a set of spanners for installing fasteners.
- A knife for cutting wallpaper or other finishing materials.
Preparing tools in advance will save time and help avoid unforeseen delays.
The main stages of home repair
After preparation, you can proceed to the main stages of repair. Follow the sequence of actions, so that the repair proceeds in an organised manner and without unnecessary mistakes.
Preparation of surfaces
Before you start finishing work, you need to prepare the surfaces. If there are old coatings (wallpaper, paint) on the walls or ceiling, they must be removed. Use a spatula or special chemical solutions that facilitate the removal of old material.
Then all surfaces need to be levelled with putty or plaster. It is important to remember that even walls and ceiling – this is the basis of quality repair, so at this stage you should not rush. If the walls are very crooked, it is better to use a reinforcing mesh and apply several layers of plaster.
After levelling the walls, be sure to prime them. Primer helps to improve the adhesion of the finishing material with the surface and prevents cracks and other defects.
Finishing work
When all surfaces are prepared, you can start finishing. If you plan to paint, start with the ceiling and then move on to the walls. Use painter’s tape to protect skirting boards and corners.
To avoid bubbles under the wallpaper, after gluing, smooth the surface with a roller or soft brush, starting from the centre and moving to the edges.
To install flooring, laminate, linoleum or tiles, carefully prepare the substrate. It must be clean and level.
Installing fittings and decorations
After finishing work, install fittings: sockets, switches, curtain rods and other interior elements. Be careful not to damage the new finish.
Final tips on repair with your own hands
Repairing with your own hands can be a fun process, but don’t forget about safety and cleanliness.
Keep safety in mind
Always use protective equipment: gloves, goggles and respirators, especially when working with chemicals or power tools. If you work on electrical wiring, make sure that the electricity is switched off.
Keep it clean
To keep your renovation from turning into chaos, try to keep things clean at all stages of the job. Remove rubbish regularly, and clean your tools after each stage is completed. This will not only make the process easier, but also protect against accidental damage to the finishing materials.
Do not be afraid to experiment
One of the main advantages of repairing with your own hands is the freedom to experiment. Do not be afraid to try new techniques or materials. You can experiment with accent walls, textured plaster or decorative mouldings.
Renovating with your own hands is a way to save money and create a space that fully reflects your preferences.


